Waterpik™ Water Flosser Tips Guide
Explore below to learn about WATERPIK water flosser tips.
To shop for replacement tips for a specific WATERPIK water flosser model:
View the Tips SelectorTypes of Water Flosser Tips
Note: Not all tips are compatible with all water flossers.
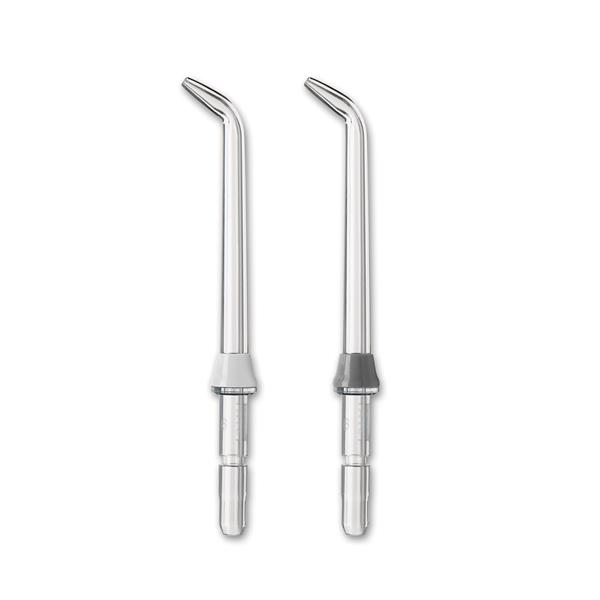
The Precision (Classic) tip is the standard tip for everyday use. It cleans deep between teeth and below the gumline to help prevent gum disease and improve your oral health.
Best water flosser tip for: General use
Replace: Every 6 months
How to use the Precision (Classic) tip: Start with the back teeth and follow the gumline, pausing briefly between the teeth and aiming the tip at the gumline at a 90-degree angle. Hold the tip slightly away from the gums to allow the water flow to remove plaque and debris.
Learn how to use a WATERPIK water flosser.
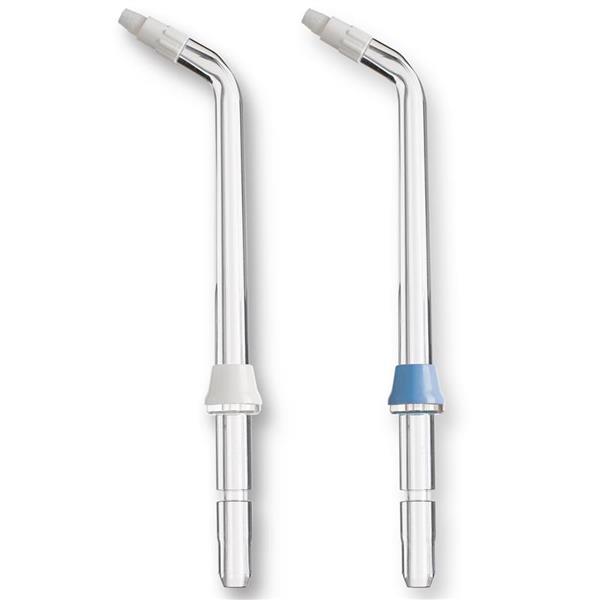
See how the Precision tip works:The Orthodontic tip has a tapered brush on the end to help remove plaque from braces and orthodontics. It also helps flush out bacteria and food debris from around teeth and under the gums.
Best water flosser tip for: Braces, Orthodontic Appliances, General Use
Replace: Every 3 months
How to use the Orthodontic tip: Gently glide the tip along the gumline, pausing briefly to lightly brush the area between the teeth and all around the orthodontic bracket or appliance, then proceed to the next tooth.
Learn how to use a WATERPIK flosser with braces.
Available tips: OD-100E, WOD-2E
See how the Orthodontic tip works:
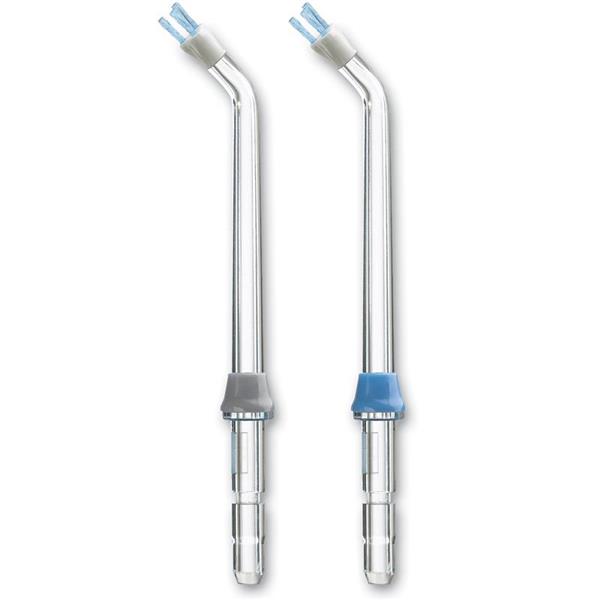
The PLAQUE SEEKER tip removes plaque around all types of dental work and hard-to-reach areas. It has 3 thin tufts of bristles that gently access stubborn plaque around dental implants, crowns, bridges, and veneers.
Best water flosser tip for: Implants, Crowns, Bridges, General Use
Replace: Every 3 months
How to use the PLAQUE SEEKER tip: Place the tip close to the teeth so that the bristles are gently touching the teeth. As you water floss, gently glide the tip along the gumline, pausing briefly between teeth to gently brush and allow the water to flow between the teeth.
Learn how to use a WATERPIK water flosser.
Available tips: PS-100E, WPS-2E
See how the PLAQUE SEEKER tip works:
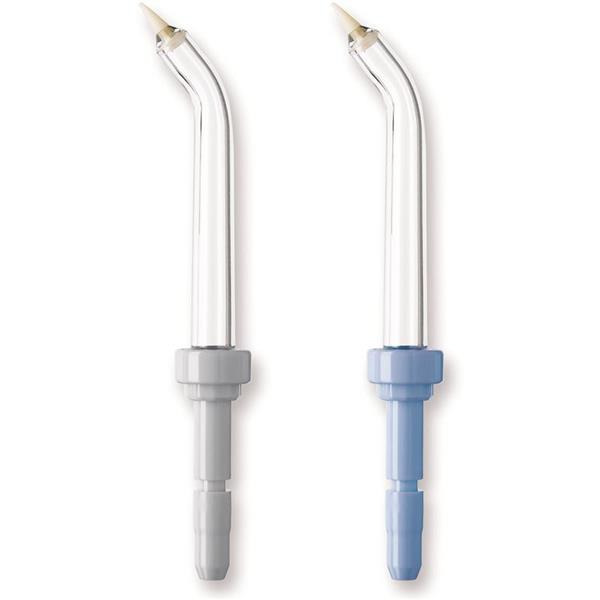
The PIK POCKET tip is specifically designed to deliver water or anti-bacterial solutions deep into periodontal pockets as prescribed by your dental professional.
For best results, use with countertop or the ION water flossers, which allow for more precise tip placement.
Best water flosser tip for: Periodontal Pockets, Furcations
Replace: Every 3 months
How to use the PIK POCKET tip: With the unit OFF, set the pressure to the lowest setting. Place the soft tip against the tooth at a 45-degree angle and gently place the tip under the gumline, into the pocket. Turn on power to clean.
Learn how to use a WATERPIK water flosser.
Additional information:
- If the PIK POCKET tip separates from the shaft, do not use the tip.
- If you add therapeutic mouth rinse to the reservoir, run plain warm water through the unit and tip into the sink after use.
Available tips: PP-100E, PP-70E
See how the PIK POCKET tip works:
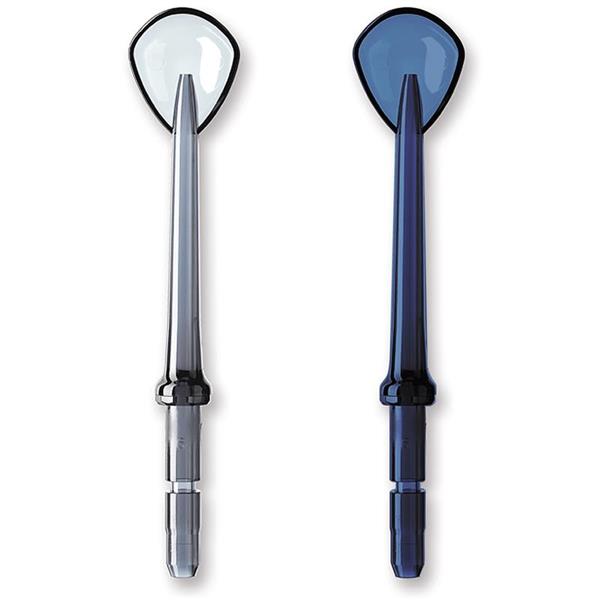
The spoon-like shape of the Tongue Cleaner effectively traps and removes bacteria from the tongue to help prevent bad breath.
Best water flosser tip for: Fresher Breath
Replace: Every 6 months
How to use the Tonque Cleaner: With the unit OFF, set the pressure to the lowest setting. Place the Tongue Cleaner in the center/middle of your tongue, about half-way back. Turn on unit and pull the tip forward with light pressure. Repeat to clean the desired areas of the tongue. You can increase water pressure if you prefer.
Learn how to use a WATERPIK water flosser.
Available tips: TC-100E
See how the Tongue Cleaner tip works:
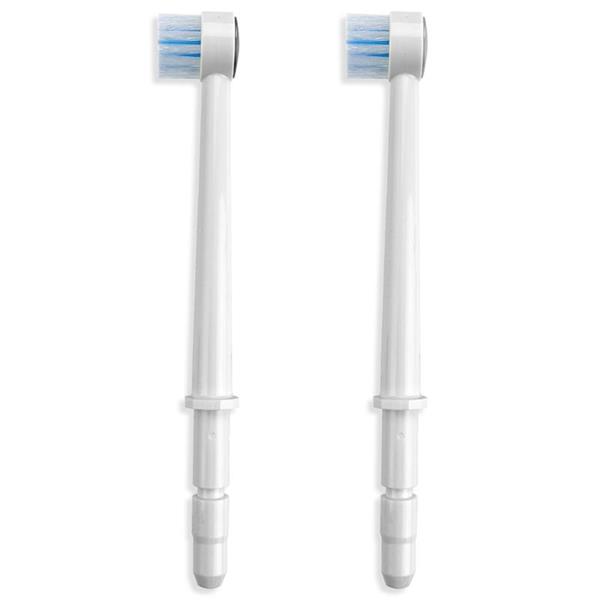
The Toothbrush tip is similar to a manual toothbrush (it is not an electric or sonic toothbrush). It attaches to the water flosser handle and allows you to manually brush your teeth as you water floss.
Best water flosser tip for: General Use
Replace: Every 3 months
How to use the Toothbrush tip: Use with or without toothpaste. Place the Toothbrush Tip in the mouth with the brush head on the tooth at the gumline. Using light pressure as you water floss, massage the brush back and forth with very short strokes, similar to using a manual toothbrush.
Learn how to use a WATERPIK water flosser.
Available tips: TB-100E
See how the Toothbrush tip works:
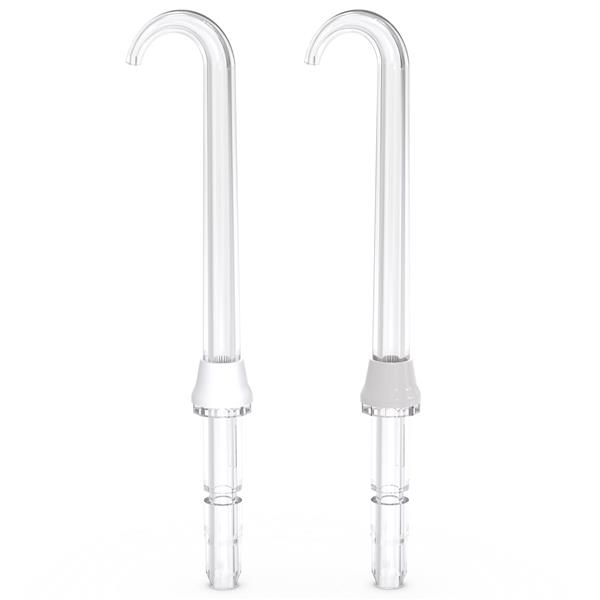
The Implant Denture tip is specifically designed to access hard-to-reach areas to clean fixed implant bridges and dentures.
For best results, use with countertop or the ION water flossers, which allow for more precise tip placement.
Best water flosser tip for: Cleaning around fixed implant bridges and dentures
Replace: Every 6 months
How to use the Implant Denture tip: Place the tip on the lingual (tongue) side at one end of the implant retained denture. Direct the opening of the tip between the natural gum tissue and the denture. Slowly glide the tip along the space between the natural gum tissue and the denture until you have cleaned underneath the entire length of the denture.
Learn how to use a WATERPIK water flosser.
Available tips: DT-100E
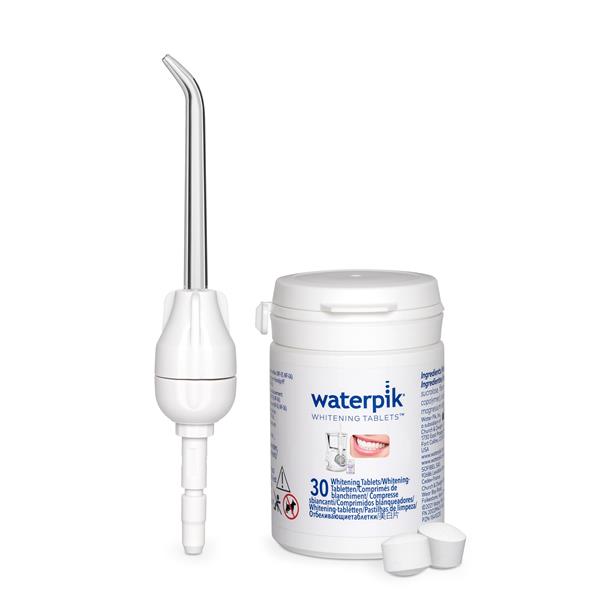
See how the Implant Denture tip works:The Boost tip allows you to use WATERPIK Whitening Tablets with most Waterpik brand water flossers (not for use with SidekickTM, Sonic-FusionTM, Whitening, or Classic water flossers).
Best water flosser tip for: Removing stains naturally from hard-to-reach areas
Replace: Tip every 6 months, tablets every 30 days
How to use the Boost tip: Insert the Boost tip into your water flosser handle, twist open, place the tablet, and close. Water floss as usual using lukewarm water, and enjoy the clean, minty fresh experience!
Learn how to use a WATERPIK water flosser.
Available tips: WTT-1WW
See how the Boost tip works:Questions and Answers About Water Flosser Tips
We recommend replacing the Precision (Classic) tip, Implant Denture tip, and Tongue Cleaner every 6 months because mineral deposits can collect and reduce performance over time.
For tips with bristles, we recommend replacing every 3 months. Similar to a toothbrush, the bristles can splay, making the tip less effective. This applies to the PLAQUE SEEKER tip, Orthodontic tip, PIK POCKET tip, and Toothbrush tip.
To find and shop for compatible tips for a specific WATERPIK water flosser model:
Yes, WATERPIK water flossers have removable tips so that multiple family members can use the same device. A ring at the base of the tip is color-coded for easy identification.
Every water flosser has a Tip Eject button, which allows you to remove the tip. If you are unsure of the location of the Tip Eject button, consult the Instruction Manual for your model here:
Quick Start Guides & Instruction Manuals
Note: When you insert a new tip into the water flosser, ensure it clicks into place. If the water flosser leaks from the base of the tip, turn off the unit and make sure the tip is firmly in place.
To clean water flosser tips:
- Remove the tip from the unit using the eject button.
- Soak the water flosser tip in a container of hydrogen peroxide or white vinegar for 5-7 minutes.
- Rinse the tip under warm water.
For maximum effectiveness over time, we recommend replacing water flosser tips every 3-6 months.
